One of the iconic moments from the American sitcom Friends is when Chandler and Monica finalized their new home, the perfect place to raise a family together. Although distant from their existing apartment, it had everything, and planning-wise, it lacked not a thing, not even a Joey room. Here’s why I am being nostalgic about the famous tv series, though: Monica showed traits of OCD (at least to me, even when it remains unconfirmed), and the new home must obviously be perfect with the right decor and layout alongside the right guy, Chandler. One of those rooms was a twin nursery, and yes, it matters. An infant nursery is required to instill qualities in your baby from a small age, and at the same time, give them a space where they are comfortable, and you, as a parent, keep their belongings organized. But given the room is for a baby, parents often treat it as a cute space where they can be playful, ignoring the aspects of functionality in it. Since, at SimplyKalaa, we happen to address the latter closely, this guide is to help you with one of the decorative and functional aspects of your baby’s nursery, its lighting. So follow along to learn the exact steps you need to follow for an interior designer-approved nursery lighting.
Note: This article has fewer images since the internet lacks copyright free images of nurseries that replicate designer intellect and use the following fundamentals. Before we start though, here’s a word from the sponsor of this article.
Whether residential or commercial, interior lighting is unarguably crucial, and an intelligent buyer is one who knows the implementation and the right seller. So I introduce you to SEUS Lighting, a USA-based firm that understands every space and, per the client’s requirement, provides even tailored solutions. Learn more at SeusLighting.com.
5 Steps to Getting the Perfect Nursery Lighting.
1. Understand Yourself and Fixate On an Emotional Impact.
Lighting in interiors is not only functional but also an element that leaps into our psychology and interacts with it, creating a positive or negative diagnosis of the space for us. If negative, it doesn’t necessarily mean that the space lacks character or that the lighting is not designed in a certain responsible way. Two individuals may find a single type of lighting different, and this is why you should first decide between low-contrast and high-contrast lighting. Don’t worry, though, the odds are with you, as most people have a similar emotional impact through a similar kind of lighting.
Let me briefly explain and distinguish the low-contrast and high-contrast lighting using the following table.
| Qualities | High-Contrast Lighting | Low-Contrast Lighting |
| Basics | Spaces that create strong distinction between the foreground and background. | Spaces which gives equal treatment to the foreground and background and do not create an order through lighting. |
| Emotional Impact | Keep the emotions neutral. | Create an impact and direct moods or emotions. |


2. Keep Your Basics Clear About Ambient, Task, and Mood Lighting.
One of the frequently talked about basics in interior lighting that is also helpful for nursery lighting is learning the importance of ambient, task, and mood lighting.
Since we are going step by step, I am going to quickly explain their attributes through the following points:
- An ambient light is a shadowless illumination that gives no significance to the surfaces, but is required for keeping the room lit enough for an uninterrupted vision or movement.
- Now comes the task light, projecting the surface that is the most relevant. A quick example of it in an infant nursery can be one near the changing station.
- Last but not least, mood lights are anything that add certain character to the room, further emphasizing the emotional impact of the room’s lighting. They can be as simple as candles to polished surfaces that reflect lighting in a sophisticated manner.
Remember, these three lights must be installed in a required ratio to get the complete benefit of lighting in any room.
3. Understand How Luminaires Behave in Your Space.
Following our nursery lighting process, the next step that needs to be followed is taking into account the space and deciding the type of luminaires for it.
A luminaire is a light fixture that emits light in one of the three directions: upward, downward, or multidirectional. Further, they have one of the two distributions: concentrated or diffuse. A concentrated luminaire spreads light narrowly, while a diffused one disperses it widely.
Without complicating this step, let’s discuss the behavior of different types of luminaires and the way they direct light in spaces, alone and together.
1. Concentrated Downward Lighting.
As the name suggests, this lighting has a more concentrated distribution of light, dispersed downward with no upper component of lighting. Since they are tightly distributed (30° or less coverage), they leave dark spaces in low ceilings, requiring to be placed together with a careful planning. These lights, however, have a lasting impact in higher ceilings, having a much better spread, and are helpful in creating a higher contrast. At the same time, with polished floors, they can make these surfaces act as secondary light surfaces; of course, they should be clean and not covered with fabric.
2. Diffused Downward Lighting.
These lights are a great option for designing a practical lighting condition in a room. Having an 80° to 120° spread, they disperse light evenly and create a low contrast environment. Unlike concentrated downward lighting, they fall incidentally on the side walls, and their overall distribution of light does not create shadows on faces.
3. Concentrated Upward Lighting.
Concentrated lights are narrow beams that project light towards the ceiling and use the ceiling as a secondary light source upon reflection. However, concentrated lights must be installed with a few things in mind. First, when in close proximity to the wall, though they can balance the high contrast created by concentrated downward lighting, using them as a primary lighting solution can create highly illuminated spots on the ceiling, causing glare, especially in lower-ceiling rooms. Secondly, this can be solved by installing them together (at the right distance) and away from the ceiling walls, giving them space to spread and getting a uniform brightness.
4. Diffused Upward Lighting.
Diffused upward lighting is a great solution for a lighter contrast setting and serves as the correct tool to avoid glare caused by certain surfaces (highly reflective in nature) on ceilings.
5. Multidirectional Lighting.
Multidirectional lights project light in all directions; upward, downward, and on the sides. Since they cause reflections and interreflections, the shadows are reduced, giving uniform brightness and low contrast.
Bonus Point: If you want to achieve a moderate contrast, use a multidirectional light with only upper and lower light components (not on the sides). The components must be concentrated, and through reflection from the ceilings, the shadows and contrast are reduced, resulting in a moderate contrast setting.

Since a nursery serves as both a working and a resting place for your infant, it is essential to follow a combination of lighting that creates both high contrast and low contrast, as required.
Once you have an idea of the environment you want to create – high contrast, low contrast, or moderate contrast and have correctly decided the types of luminaires you need for the same, it is time that we clear other details that’d be of help to you for your nursery lighting. To be brief yet explanatory, I will put information through the following points:
- It is crucial to know that side walls, floor, and even ceiling can act as secondary light sources, but only if you have a lighter color palette, allowing them to be reflective and not light-absorbing. These can be beneficial in reducing shadows and getting a uniform brightness in the room. However, if you want to achieve a high contrast interior setting, it is advisable to use darker colors that reflect only a small amount of light incident over them.
- You can also create an intimate setting through vertical illumination to reduce contrast and eliminate shadows, especially when the ceiling height is larger compared to the room’s size.
- Since I have mentioned using a task light as well, ensure it is not directly above the task (the middle point of the changing station). Instead, install a luminaire on one of the table’s ends, ensuring the glare is not reflected towards your line of sight, infact away from your sight.
- Last but not least, you can add mood lights in three forms: use a textured reflective surface, use sparkle lights such as small filament lamps, or use frosted material around clear filament lamps.
4. Decide On the Color Spectrum For Your Nursery Lighting.
Here’s a basic that most people avoid, though lights come labelled with a color temperature, and it might feel that you are secured with the outcome, in terms of the interplay between the room’s color palette and the color of the light emitted by the source, the reality may differ for scientific reasons.
Now, I don’t intend to bore you with a chapter on light and its properties, but what I know after going through it myself is check how your wall colors interact or appear under lights of different color temperatures. This can be done by using a color card and visiting an electronics shop yourself, and bringing it near each light. It will give you a slight idea and assurance of how the wall paint will look after you have set up your nursery lighting.
I promised not to take you through a lesson on light and its properties, but I will indeed inform you about the light temperatures, helping you pick the right one, per your goal of the emotional impact you want from the nursery. Don’t worry, it’s a simple one!
As per Flynn, cool colors (4100K) stimulate visual clarity, whereas warm colors (3000K) serve as reinforcement of pleasantness, especially when a feeling of relaxation is desirable.
At the same time, he found that diffuse light plus war (orange-red) hues create an impression of tension and anxiety, making them an odd choice for nursery lighting. If you think this can be opposed by a diffuse light plus cool (violet-blue) hues, Flynn also found them to be somber.
So what else? Patterns of sparkle plus saturated warm (orange-red) hues are great if you want to push an impression of playfulness and merriment. And speaking of its contrasting companion, patterns of sparkle plus saturated cool (violet-blue) hues create an impression of enchantment.
5. Control the Daylight.
Daylight is important, even when you are planning nursery lighting, because the changes in daylight throughout the day are satisfactory to body and mind. It would be almost foolish to ignore this aspect of lighting.
Talking the basics first, daylight must be controlled in your infant’s nursery, since it is uncomfortable and interferes with vision. So shield it using proper curtains. We have written a dedicated article on window decoration, where curtains are explained in-depth, so use it as a reference.

At the same time, skylight is wonderful if proper planning is done, ensuring it serves for visual purposes and a moderate contrast setting. We do not want a newborn to suffer in heat, have excessive skylight on the face, or for you to have an extremely high or extremely low contrast that can impact vision.
Lastly, since we are only discussing interior setting and not architectural changes, here are a few things you can use for maintaining a comfortable environment for the nursery:
- Use shading devices to reduce the energy gain from the sun by 60% to 70%.
- Draperies and shades can help reduce the sunlight to almost a complete blackout. Further, you can control sun exposure as per your liking with Roman shades.
- An awning can help shade the upper area of windows by not reflecting sunlight entirely.
Note that two of the three ideas, the former ones, can be adjusted as per budget and comfort by opting for either stationary or moving alternatives.
Final Words.
Nursery lighting is no joke; in fact, one of the toughest rooms since you need to ensure the comfort of the baby as well as create a transitional environment to switch into the working condition. You should also make the room comfortable enough for yourself, since you’ll often be spending nights near the new joy, taking care of the baby. Vision should not be compromised, coziness should be taken care of, and optimum usage of lights should be made for a working moment as well. When I say ‘transitional,’ I mean to emphasize how it is important to play around a little and have the cozy plus working settings through a simple switch. You are now free to explore the different types of lighting and make sure that you prioritize safe electicals as well, because we want this nursery to have minimal changes in the coming years. Hope this article helped you. Let me know if there’s anything I missed, and congratulations on welcoming a new life.
Resources.
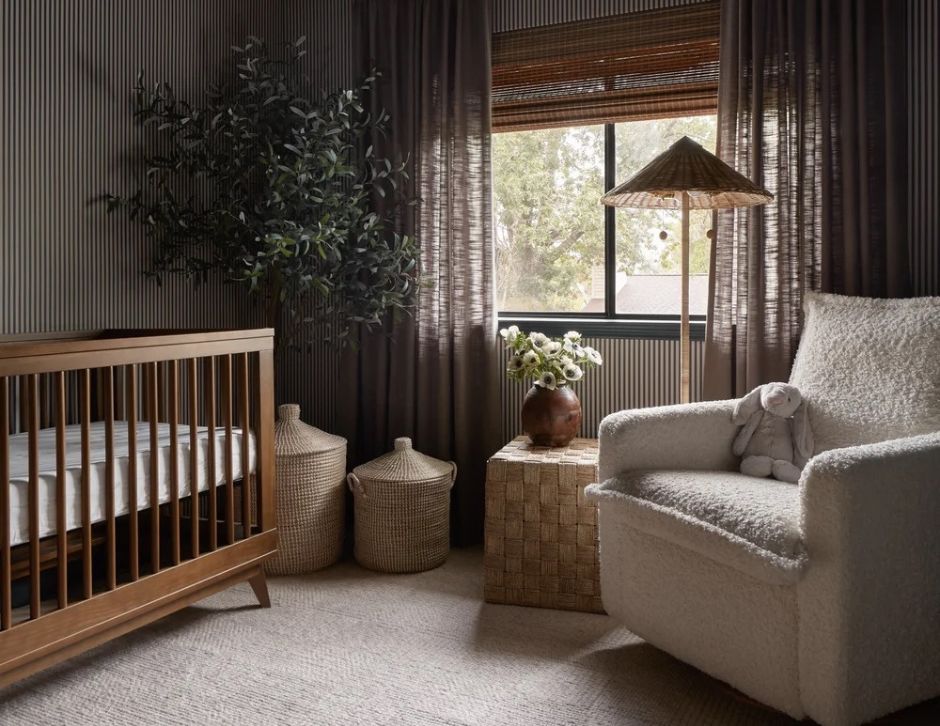
- Featured Image: Photo by Bide Studio.
- Psychology of Light: How Light Influences the Health and Psyche by Flynn, J. E. (1973).
- Interior Lighting for Designers 5th Edition by Gary Gordon.
- Handbook of Lighting Design Kindle Edition by Rüdiger Ganslandt.
Related Reads.


