
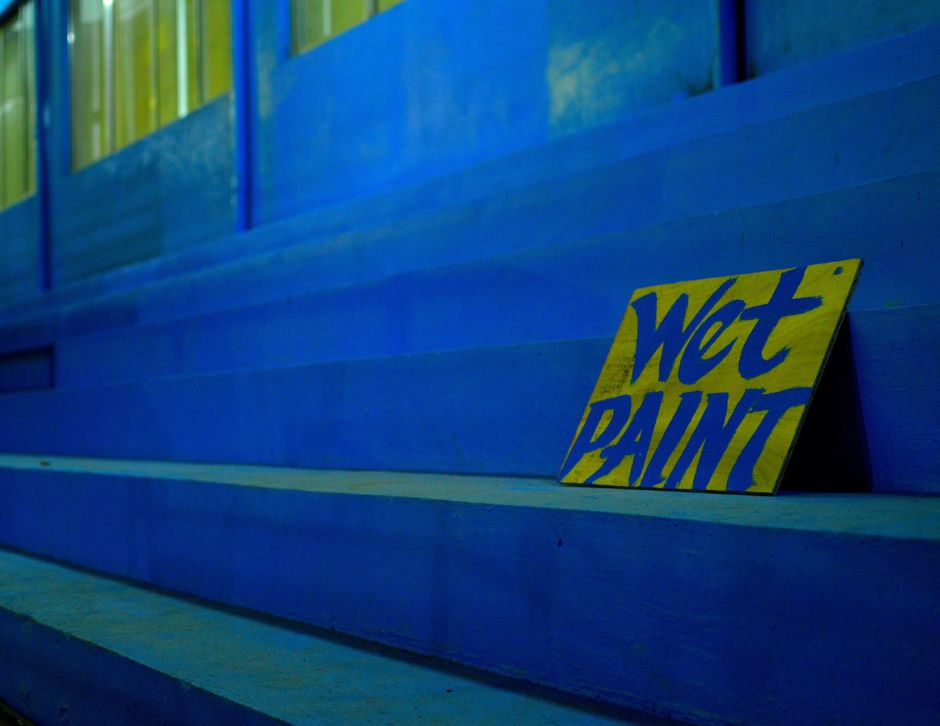
The most outstanding paintings that portray anti-intellectualism and deformities, from the grotesque figures to the irreverent environment, were from the late career of the brilliant artist Francisco Goya. However, these dark paintings were painted on the walls of the artist’s house and were then moved to the museum. During the move, half the work was lost, and what remained were the walls with fragments of the paintings. In several other fresco works, conserving the walls has always been important. Similarly, museum walls are always kept pristine so the painting’s presence is irresistible. Now, this same effect of neat and appealing walls can be brought to your home through simple techniques. In this article, I am going to tell you some of the best tips for painting walls like a museum while elaborating on the process.
Today’s Book Recommendation.

Kaikeyi: A Novel by Vaishnavi Patel.
As the Ramayana movie hits theatre, the one story which is most stated is that of Kaikeyi, Dushrath’s wife. But what if she was never the villain? Vaishnavi Patel’s debut is the reimagining of the character as a clever girl who forges her own power in a court that expects obedience. She balances feminist insight with a brutal emotional honesty, turning the entire myth to a human tragedy, ultimately ending this story harder for the readers. This gripping and fabulous novel is about the deep feminine urge of putting herself first this time.
How to Paint a Wall?
Good walls don’t happen automatically. They come from careful planning and a deliberate process of selecting and organizing materials. But before that, an examination of these walls is a must. Last month, when I decided to redo my home to keep up with the decor trends and, of course, minor repair, the first thing I did was inspecting the walls and the storage. Upon close inspection of the walls, which I will discuss in the next section of this article, I found that there are several small, unfit patches on the walls that have to be scrutinized and treated before a fresh paint layer.
Whether you want a broken color embellished finish for your walls, a rustic finish, or strong and plain colored walls, the first key is to make the surface clean and treat its dampness, stains, or any damage. After you treat them properly, you decide on what kind of finish you want for the wall. Paint finishes range from flat and matte to high gloss. A medium gloss is called pearl, satin, semigloss, or some other name for the shiny finish depending on the manufacturer. The glossier the finish, the more durable and washable the paint is. Glossy paint is usually used for woodwork, kitchens, and bathrooms, as they can be exposed to heavy wear. The essence of painting is to first scrape the old color with a putty knife as much as you can. Clean these walls using a sandpaper. Now, after that, you might see dampness or worn-out areas. If you see structural damage, you might need masonry work over it. However, for dampness and a waterproof surface, you can use hydrostatic coating and then apply coats of primer. After primer, you have to apply a coat of paint. In the case of new plaster, you can always seal the surface with a vinyl acrylic wall primer.
Decorative Inspection: Inspect the Walls Before Painting.
A decorative inspection starts with checking for signs such as cracks, peeling paint, water stains, mold growth, wall leaks, or bulging areas. You can always call professional home inspectors, but a simple set of tools can also help you to inspect the walls carefully. Some of them are:
- Moisture meter: While a thermal image is the first thing that can hint you about the water stains, the moisture meter can actually measure moisture content in the walls, floors and even ceilings.
- Infrared thermometer: The infrared thermometer is used to spot the hidden moisture or the electrical hotspots but the only drawback of this is that it only reads the surface temperature rather than a full image.
- Rubber mallet: It is basically used to check for detached plaster or hollow spots tapped on the tiles.
- Flashlight and inspection mirror: This is used to inspect the dark, concealed, or hard-to-reach areas. It even shows bubbling, ripples, and flaking that flat daylight hides.
These tools are helpful if you are trained in securing and spotting the problems. However, without these tools, you can just observe and fix issues. First, you can always take a photograph of the walls and figure out the issues by online help or asking for free help at your nearby or preferred paint shop. You can also do thermal imaging of these walls using compact RISION thermal imaging camera and look for the stained areas.
Preparing the Walls and Finishing Up.
There are 7 steps to preparing and finishing up the walls for paint. But before following any of these steps, first protect the things inside the room. Cover every single furniture and even the flooring with a plastic layer so that there is no dirt and damage. Lastly, remove the cover plates of the electrical switches after turning off the main power supply at your service panel so that the fixtures do not get damaged.
Step 1: Scrape or Wash the Dirty Paint.
Dingy paint can be removed with a mild detergent; if not, it can expose weak spots where loose chips and flakes show up. Use a putty knife to scrape off the loose chips or flaking until you have a solid and smooth wall surface. Always use safety goggles and a dust mask while doing this. Lightly sand any damaged areas to smoothen the edges and then cover this damage with joint compound. I will tell you more about this joint compound in later steps.

Step 2: Kill the Mildew.
When the dinginess lingers as the grey-green dots of the mildew, add bleach to a cleaning solution and remove the dark stained areas. Stubborn stains can be removed with this solution, but don’t add bleach to detergents containing ammonia, as they create dangerous fumes. This step is specifically for the oil stains or dirt that the thermal imaging captured.

Step 3: Cover the Deep Stains.
Any surface that is damaged must always be first sealed under a coat by putty or pigmented white-sellac. You can always add water-proofing inside this coat if there are leaks or moisture problem. Now, once these spots and surfaces are sealed, improve this with the sandpaper finish after drying up. I am adding a picture of covered up spots through the pigmented white-sellac so that you understand more.

Step 4: Fill the Deep Cracks.
Once you have figured out deep cracks, you use one thin swipe of joint compound of plaster and putty mixture. To avoid repeat cracking under fresh paint, fill deep scars in stages with adequate drying in between. On the first-time plaster, dig the loose material entirely and brush the crack free of dry debris. Do the same until you have a larger layer of plaster, as sand paper finish will eventually even out the surface and make it more finished. You can always use mesh tape once you have filled this crack and flatten it using your fingertips for a more enriched look. Cover this mesh tape with the patching plaster, coat twice or thrice, and then sand each layer smooth.

Step 5: Prime Patches.
After you have filled cracks and finished it up, its time to prime patches. Repairs sometimes cause new paint film to dry unevenly by drawing in more moisture from the surrounding areas, so to solve this problem, you have to use primer on these surfaces. Coat them with primer so that these surfaces don’t look dull. Always use a roller feathering the paint edges with lighter strokes for this purpose.

Step 6: Do a Primary Cleanup.
Wipe down all the walls to remove the sanding dust after the surface repairs, as the dust particles often leave blemishes on the painted surface. You can always brush or vacuum them. Once cleaned, you can now add a fresh primer layer if the decided wall color is different. And finally, your wall is ready to be painted.
Final Words.
Painting walls is a really big task as it involves a lot of planning, inspection, and cleaning. However, just painting the walls changes the entire theme and aura of your space. I have personally experienced it when I went from a darker theme to a lighter color theme in my home. I hope these tips for painting walls help you lay a strong foundation for your home repair project or decorating style and don’t forget to take an expert opinion in technical assessment of the walls if they are severely damaged.
Featured Image: Marion Paul Baylado, CC BY 2.0, via Wikimedia Commons.
Related Reads.


